Tag Archives: crafts

Memories…photo frame!

Standard

photo frameHi friends!

Its me again after a  hectic weekend..this week turned out to be a little ‘worky’ for me,well to let you know my family had our mom’s funeral ritual done on 3rd of this month(DEC)and i hope she is in Peace now..

Christmas was one of my Mom’s favorite festival..though being an Hindu(religion),most of our religion people find it unusual to celebrate Christmas,but my Mom never cared about all that…she just loved…loved and loved Christmas!

she would get up really early on the eve,bake tons of cakes and cookies,decorate our house with the lights and also decorate the Christmas tree for us(the kids).

But now its been a Year that she passed away,leaving her precious memories in our heart’s forever..

so today I wanna share with you this creation of mine that i made especially in memory of my mom..and it is also for a challenge at http://quirkycrafts.blogspot.co.uk/

The challenge this time is http://quirkycrafts.blogspot.co.uk/2013/12/challenge-25-christmas-and-use-your.html

and the sponsor for this challenge is:

The Cutting Cafe  who has provided us with the followin images!!!

Christmas in a Square (Printables)
Christmas Sentiment Shapes (Cutting files and Printables)
Christmas Stocking Laundry  (Single printable)
Christmas Elisha Jean and friends (Printables)

So friends,let me quickly tell you the supplies I’ve used for this photo frame:

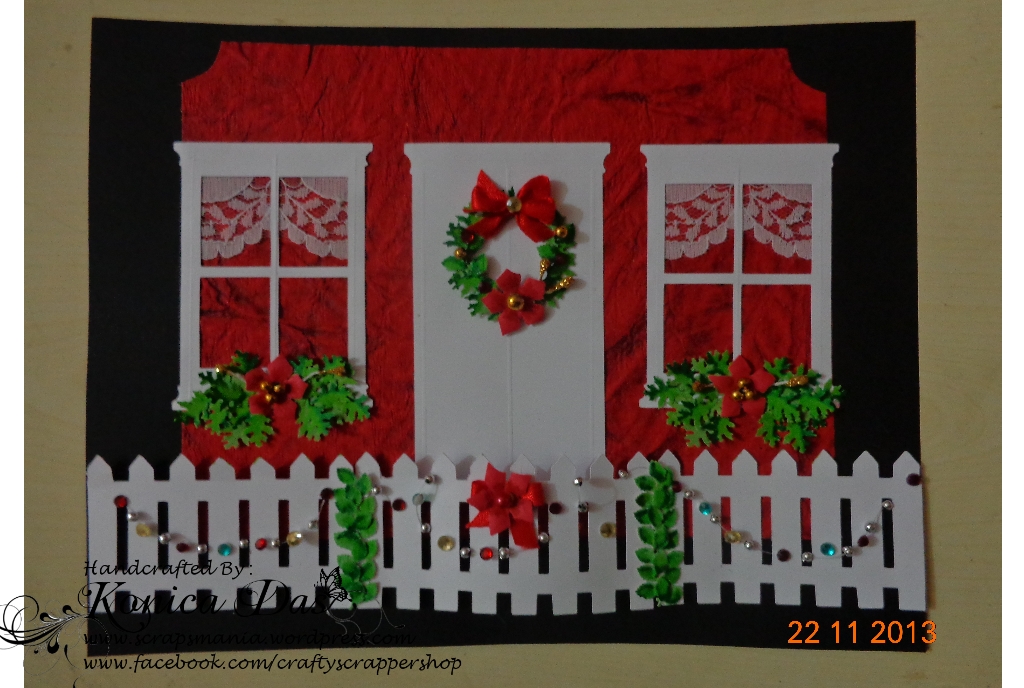
1.Pattern paper- DCWV Christmas stack(about 2years old)

2.Stamp-is from The Cutting Cafe,well i have used,CHRISTMAS RUBY J, CHRISTMAS IN A SQUARE, and CHRISTMAS STOCKING LAUNDRY. (the stamps are just wonderful…thanks to the sponser!!!)

3.Maroon cardstock paper.(bought from the local craft store.)

4.Ribbons,laces and trims-(all brought from the local craft store.)

5.Adhesives– Fevicol MR,Double sided tape  and also Glue gun(bought from the local craft store.)

6.Stickles glitter glue-red(bought from the local craft store.)

7.flower pollens– glittered green.(bought from the local craft store.)

8.Flowers-handmade paper Poinsettia Flowers and leaves.(Handmade by me.)

9.Stones – emerald green and maroon and also used multicolored stones for the trees.(bought from the local craft store.)

10.Colors- sakura koi watercolor pens are used in coloring the digital stamps.

11.Beads- The Beads are from my stash.

The old and a bit rusty ‘Star ornament’ that you can see in the frame is my mom’s favorite one…(and is very very special to me!!!)she would place it on the Christmas tree after we kids have decorated it our way..and say,”Merry Christmas”!!!

oh god! i miss her so much!

Lets quickly move on to the tutorial:

I have taken 4 maroon card stock paper for the entire frame,cut all the card stocks it in about 9x5inches,take 2 card stock and cut out a square from the enter..(this is where the pictures fit in!) To give the sides a little more dimension,i have added these gemstones(in emerald green and maroon)then add the cellophane or transparent sheets at the back of the cut frames..

i have then added my stamps from the cutting cafe and colored and decorated it..in the corners of the frame i have put these handmade paper Poinsettia Flowers and leaves and also place the flower pollens.

I have then added my mums favorite star ornament at the upper left hand side corner…(mom..i hope you wont mind me putting it there instead of the tree!!)

so that’s it…my photo frame is ready.

i hope you guys like it!! i also want to share my mom’s pic here:

m@

May her soul rest in Peace!! i love you mom!!!

Guest Designer spot at Quirky Crafts!

Standard

Altered box

hi friends!

I’m a Guest Designer at Quirky crafts!Yippeeee!!!(http://quirkycrafts.blogspot.co.uk/)and I would like to thank Cazzy for this wonderful opportunity!

Challenge #24: “Christmas like in the good old days.” Altered items only.

The sponsor for this Challenge is  http://stitchybearstamps.com

And they are giving you the chance to win:

1st price: 3 images of choice from the whole of the store
2nd price: 3 images from of the DT´s chosen images.
3rd price: 2 images from the DT´s chosen images.
http://stitchybearstamps.com  have also managed to provide us with these adorable images:

Stitchy Stamps:

Magic of Christmas : http://stitchybearstamps.com/shop/bmz_cache/a/af2068556c356cd04f5b210984aa1986.image.400×400.jpg

Window shopping : http://stitchybearstamps.com/shop/bmz_cache/0/0c800ac8b35442de4571f653753757c7.image.400×400.jpg

Coosty Creations:

Poinsettia Digital stamp and a paper from the paper pack : http://stitchybearstamps.com/shop/bmz_cache/d/d968882565e9d096be5af58ae1509121.image.400×400.jpg

Lil Diva:

Winterville :  http://stitchybearstamps.com/shop/bmz_cache/d/dc0627243e2ed67f46647d80d49f975b.image.400×400.png

Lil Angel : http://stitchybearstamps.com/shop/bmz_cache/8/8ff66de4d9e2c11d31d8b78e5a6b92f8.image.400×400.jpg

Aren’t they just so fabulous and sweet!!!

And this time i have an altered Box..(the box is from my old cotton crepe bandage.) to share with you guys…

so here are the supplies that i used:

1.Pattern paper-is from Cutting Café poinsettia paperpack

2.Stamp -is from Lil Diva Stamps – Lil Angel

3.Green cardstock paper.(bought from the local craft store.)

4.ribbons,laces and trims-(all brought from the local craft store.)

5.Silver Bell-from my stash.

6.Pearl spray(Handmade by me using small pearls and sticking them on metal wire.)

7.adhesives– Fevicol MR,Double sided tape  and also Glue gun(bought from the local craft store.). glue gun is basically used for making the paper roses.

8. Stickles glitter glue-green and yellow(bought from the local craft store.)

9.pearls-white(bought from the local craft store.)

10.flower pollens– matt white and glittered green.(bought from the local craft store.)

11.Flowers-handmade paper rose Flowers  and leaves.ribbon roses and rose buds in white and green and cream.(Handmade by me.)

12.Colors- sakura koi watercolor pens are used in coloring the digital stamp,mostly darker and lighter green for the entire dress,darker brown and lighter shades of brown mixed with red for the hairs and fluroscent yellow for the wings.

Tutorial:Altered box.

First i took an empty,’crepe bandage box’,cleaned it properly(both inside and out),then i took my green pattern paper which is from Coosty Creations:Poinsettia paper pack and wrapped it all around the box..i punched out and oval shape in green card stock and used it as my stamps backing.The stamp that i used is from Lil Diva: Lil Angel and i have used Stickles glitter glue-green and yellow to cover up the edges of the stamp and have also used the yellow one to glitter the little angel’s wings.

for the lid or you can say the cap of the box,i have used a green scalloped card stock paper to cover the whole lid and then embellished it using my dark green lace which is about a half inches and glued it all over the lid.

i have embellished my box with pearls and handmade flowers and also tied a silver bell as a charm.

so friends…that it..and i hope you guys like it.

do share me with your great ideas and views!

CREATE A SCENE : Christmas Card!

Standard

christmas sceneHellow fellow crafters!

Its been quite a cold weather today…The weeks are going by so quickly and Christmas is on the way.and the shops are getting so geared up for the festive season.

So today friends, i will be sharing with you this card and i am show casing a ‘Christmas theme’.i made this card for the challenge:create a scene,which you can find at http://colorconceptionschallenges.blogspot.in  with so many wonderful creations by the DT members!

The scene that i used for this card,is a very common one…on Christmas..every house is covered with ornaments and decorations.so i thought why not make a card showing how my house looks..with lights,wreaths and so many other decorations.

so here are the supplies that i used:

1.card stock paper- Red-for the flowers,white-for the fence,door and windows and black-for the card base.(bought from the local craft store.)

2.Handmade paper-maroon.for layering the card.(bought from the local craft store.)

3.pearls,bling(for the flowers and the lights) and white lace(for the curtains)(bought from the itsy bitsy craft store.)

4.Leaf Punch-for the all leaves in the card.(The leaf punch is also bought from the itsy bitsy craft store.)

5.Fence,Windows and door-are cut out in the silhouette cameo.(designs are from silhouette online store.)

6.Ribbons-red,pollens-golden for the decorations.

7.Wreath- is handmade by me using a green color coated wire and i have added the leaves and the flowers to it,with a ribbon at the top.

8.The flowers are also handmade by me.

well this is it..this is my first Christmas card and i hope you guys like it and yes i have also colored the leaves and the flowers using my koi water color markers.

the challenge that i am entering this:

http://colorconceptionschallenges.blogspot.in/2013/10/create-scene.html

happy thanksgiving!

Standard

valentine scrapbook1

hi friends!

today i am going to share with you a card that i made out of the scraps that i had.first,i was thinking of just throwing the left over scraps but then i thought why to waste these pretty scraps then to use it in some kind of craft project…so here i am with a ‘thanks giving’ card which is completely and totally made out of the scraps that i have been storing in my stash.

Before going to the details of the card,i would like to say one thing to all the crafting friends out there,not to throw those let over scraps…just think of something you can utilize it into and make something beautiful out of it.

The stamp used in this card is from one of my friend,who actually gave it to me in a printed form(she was throwing it,i don’t why!)and said i could use it some time to make up something,so today i finally got the chance  to use it in my card…also it was a thanks giving one,and Thanksgiving is just around the corner, and i was thinking of working on a few cards so it went well with my card.

the sentiment is from purple onions mini sentiment stamp set.

the autumn leaves are hand drawn and hand cut by me using some of the scrap paper i had.. the lace is again a left over from one of my creation that i made earlier and the layered papers are also some of the christmas paper scraps that i had..so i combined all and came up with this.i have also done some stitching (drawn on with a pen!)

and have also used these left over pearls at the top right of the card.

i hope you guys lie it.

i am entering this card for the following challenges:

http://tuesdaythrowdown.blogspot.in/2013/11/tuesday-throwdown-173-gratitude.html

http://toptiptuesday.blogspot.in/2013/11/challenge-114-borrowed-sketch.html

Simple Wreath.

Standard

wreathhi friends!

today i am going to share with you this wreath that i made with scrapbook paper.its very simple and really very easy to make.My friend is shifting to her new house and i thought why not make something that she can hang around her ‘new’ house door.

Ok so lets start with the supplies used:

1.Pattern paper-from Paper mania wedding collection stack.(bought from the lulupu craft store.)

2.Crepe paper-pink color.(bought from the local craft store.)

3.Old Newspaper..

4.adhesives– Fevicol MR

5.Flowers-handmade paper rose Flowers (Handmade by me.)

6.Pearl spray(Handmade by me using small pearls and sticking them on plastic thread.)

7.ribbons-pink quarter inch ribbons.(bought from the local craft store.)

Tutorial:

i used this  technique of cutting small strips of patterned paper and rolling them with my bone folder to give a really nice curvy-flairs to the strips.so what i did was i took around 6 sheets of 12×12 inch white,silver embossed paper which is from Paper mania wedding collection paper stack.cut round 12 strips(or as many as you can get from a 12inch paper)from each of the 12x12inch paper..in about half inch and folding it in the middle with my bone-folder,i just scraped the paper from one end to the other with the bone folder..giving it a nice curvy flair as you can see in the image.people who likes to make a themed wreath like..say for Christmas or Halloween or thanksgiving can simply apply the themed paper stacks available..but for this one i used the ‘white embossed silver’ scrapbook paper and placed a bunch of my handmade roses(that is also available in my store,that you can check at http://craftyscrappers.wordpress.com/), and also added my pearl spray (handmade by me using small pearls and sticking them on plastic thread )and quarter inch  pink colored ribbons to embellish the wreath.

okay so for the base of the wreath,i took  thick cardboard,and cut out a circle(this can be whatever size of wreath you want to make!),for mine it was 8 inch in diameter.. then i took some newspaper,crumbled them together to make rolls and stuck it onto my wreath base..that way it gave a little bit of dimension to the base.(you need to make the base of the wreath dimensional just on the facing side,because the other side will be on the wall so no one’s going to see if its dimensional!!!) i also applied a coat of Fevicol(glue) to harden the base of the wreath.after the base is completely dry i took some  strips  of Crepe paper(pink) and tied it all along the base of the wreath(this way the crumbled newspapers are hidden and the crepe paper also gives a nice texture to the wreath’s base.)then,i embellished the base using the strips and other embellishments. oh one thing i forgot to mention,when applying the strips of paper you should always keep it in a cross way ie one strip should overlap the other in horizontal way.

so that’s it friends…simple and easy to make..!

i hope you guys like it,do share me your views and also let me know if you already tried this technique!

I am entering this at the following challenges:

http://challenges4everybody.blogspot.in/2013/11/challenge-33-anything-goes.html

http://scribbleandscrapcrafts.blogspot.co.uk/2013/11/challenge-5-always-anything-goes.html

http://creativecardcrew.blogspot.in/2013/11/challenge-49-pearls.html